Working With Ceramic Stains
A ceramic stain is a pre-fired, milled pigment that adds a stable, predictable colour to a glaze, slip, or clay body. Unlike a raw metal oxide, the colour you weigh out is close to the colour you get back. You add roughly 1 to 12% to a glaze, 5 to 15% to a slip, and 5 to 20% to a clay body, by dry weight, and you test before you commit. The rest of this article is the detail behind those numbers.
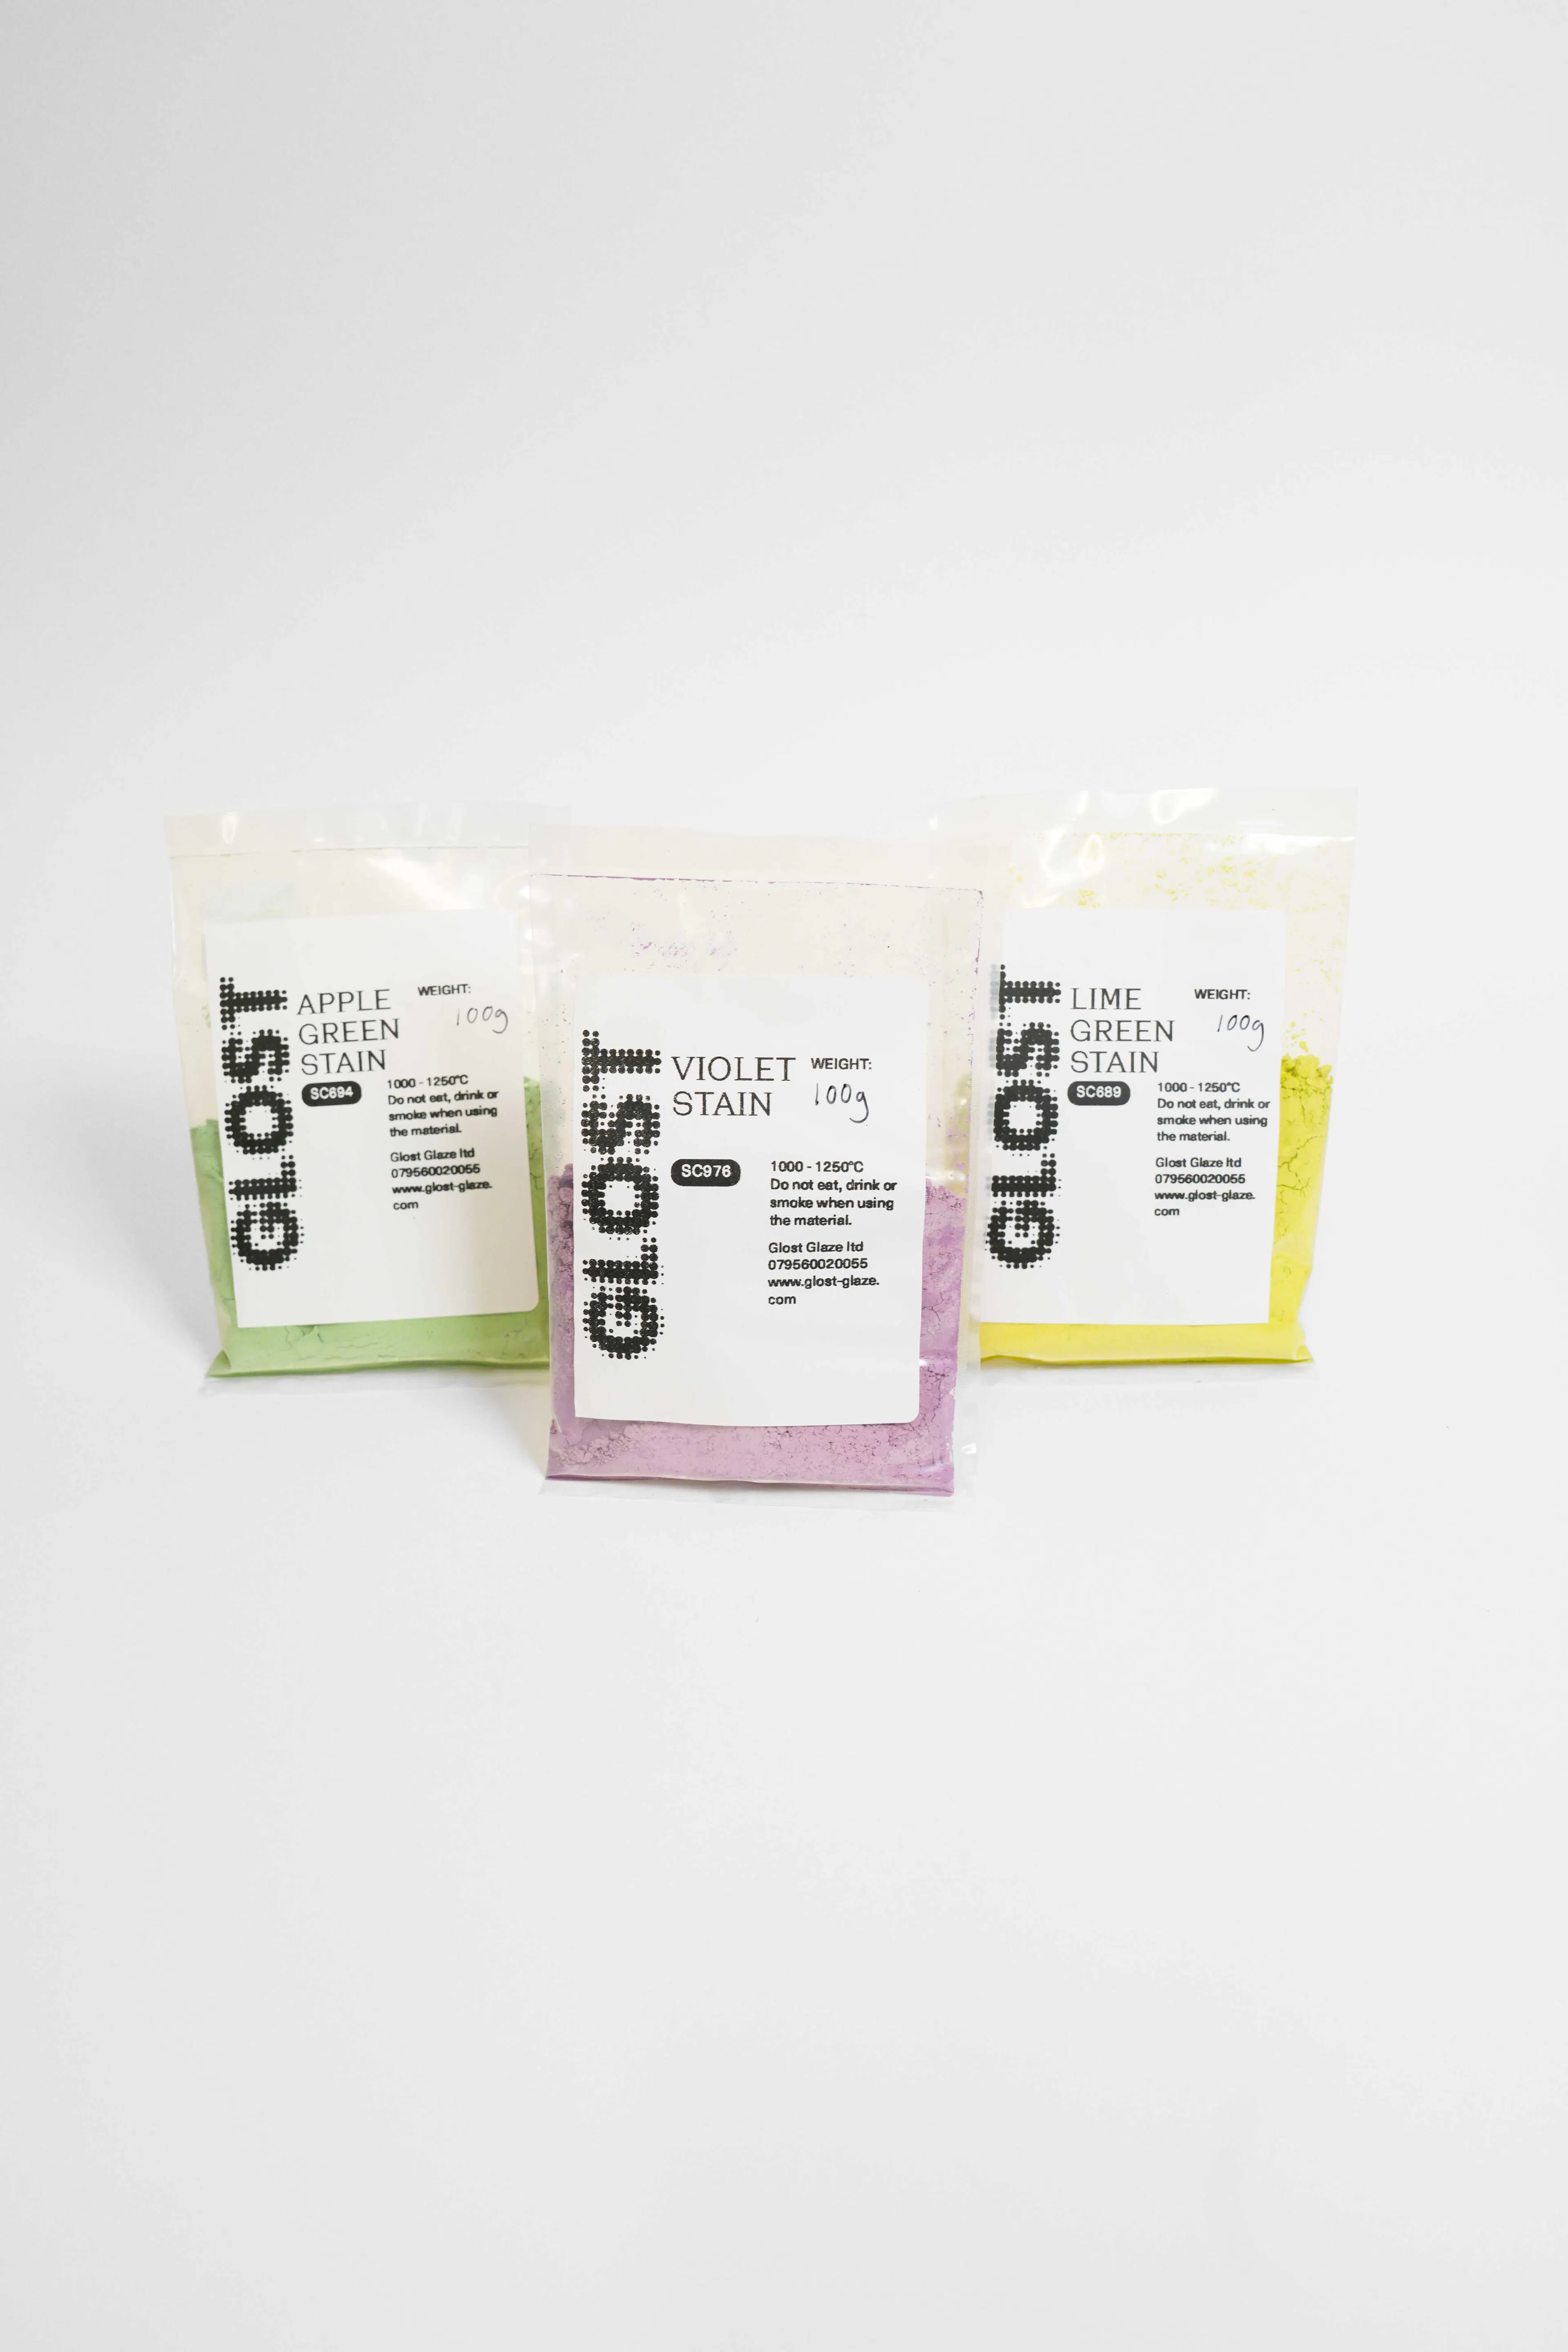
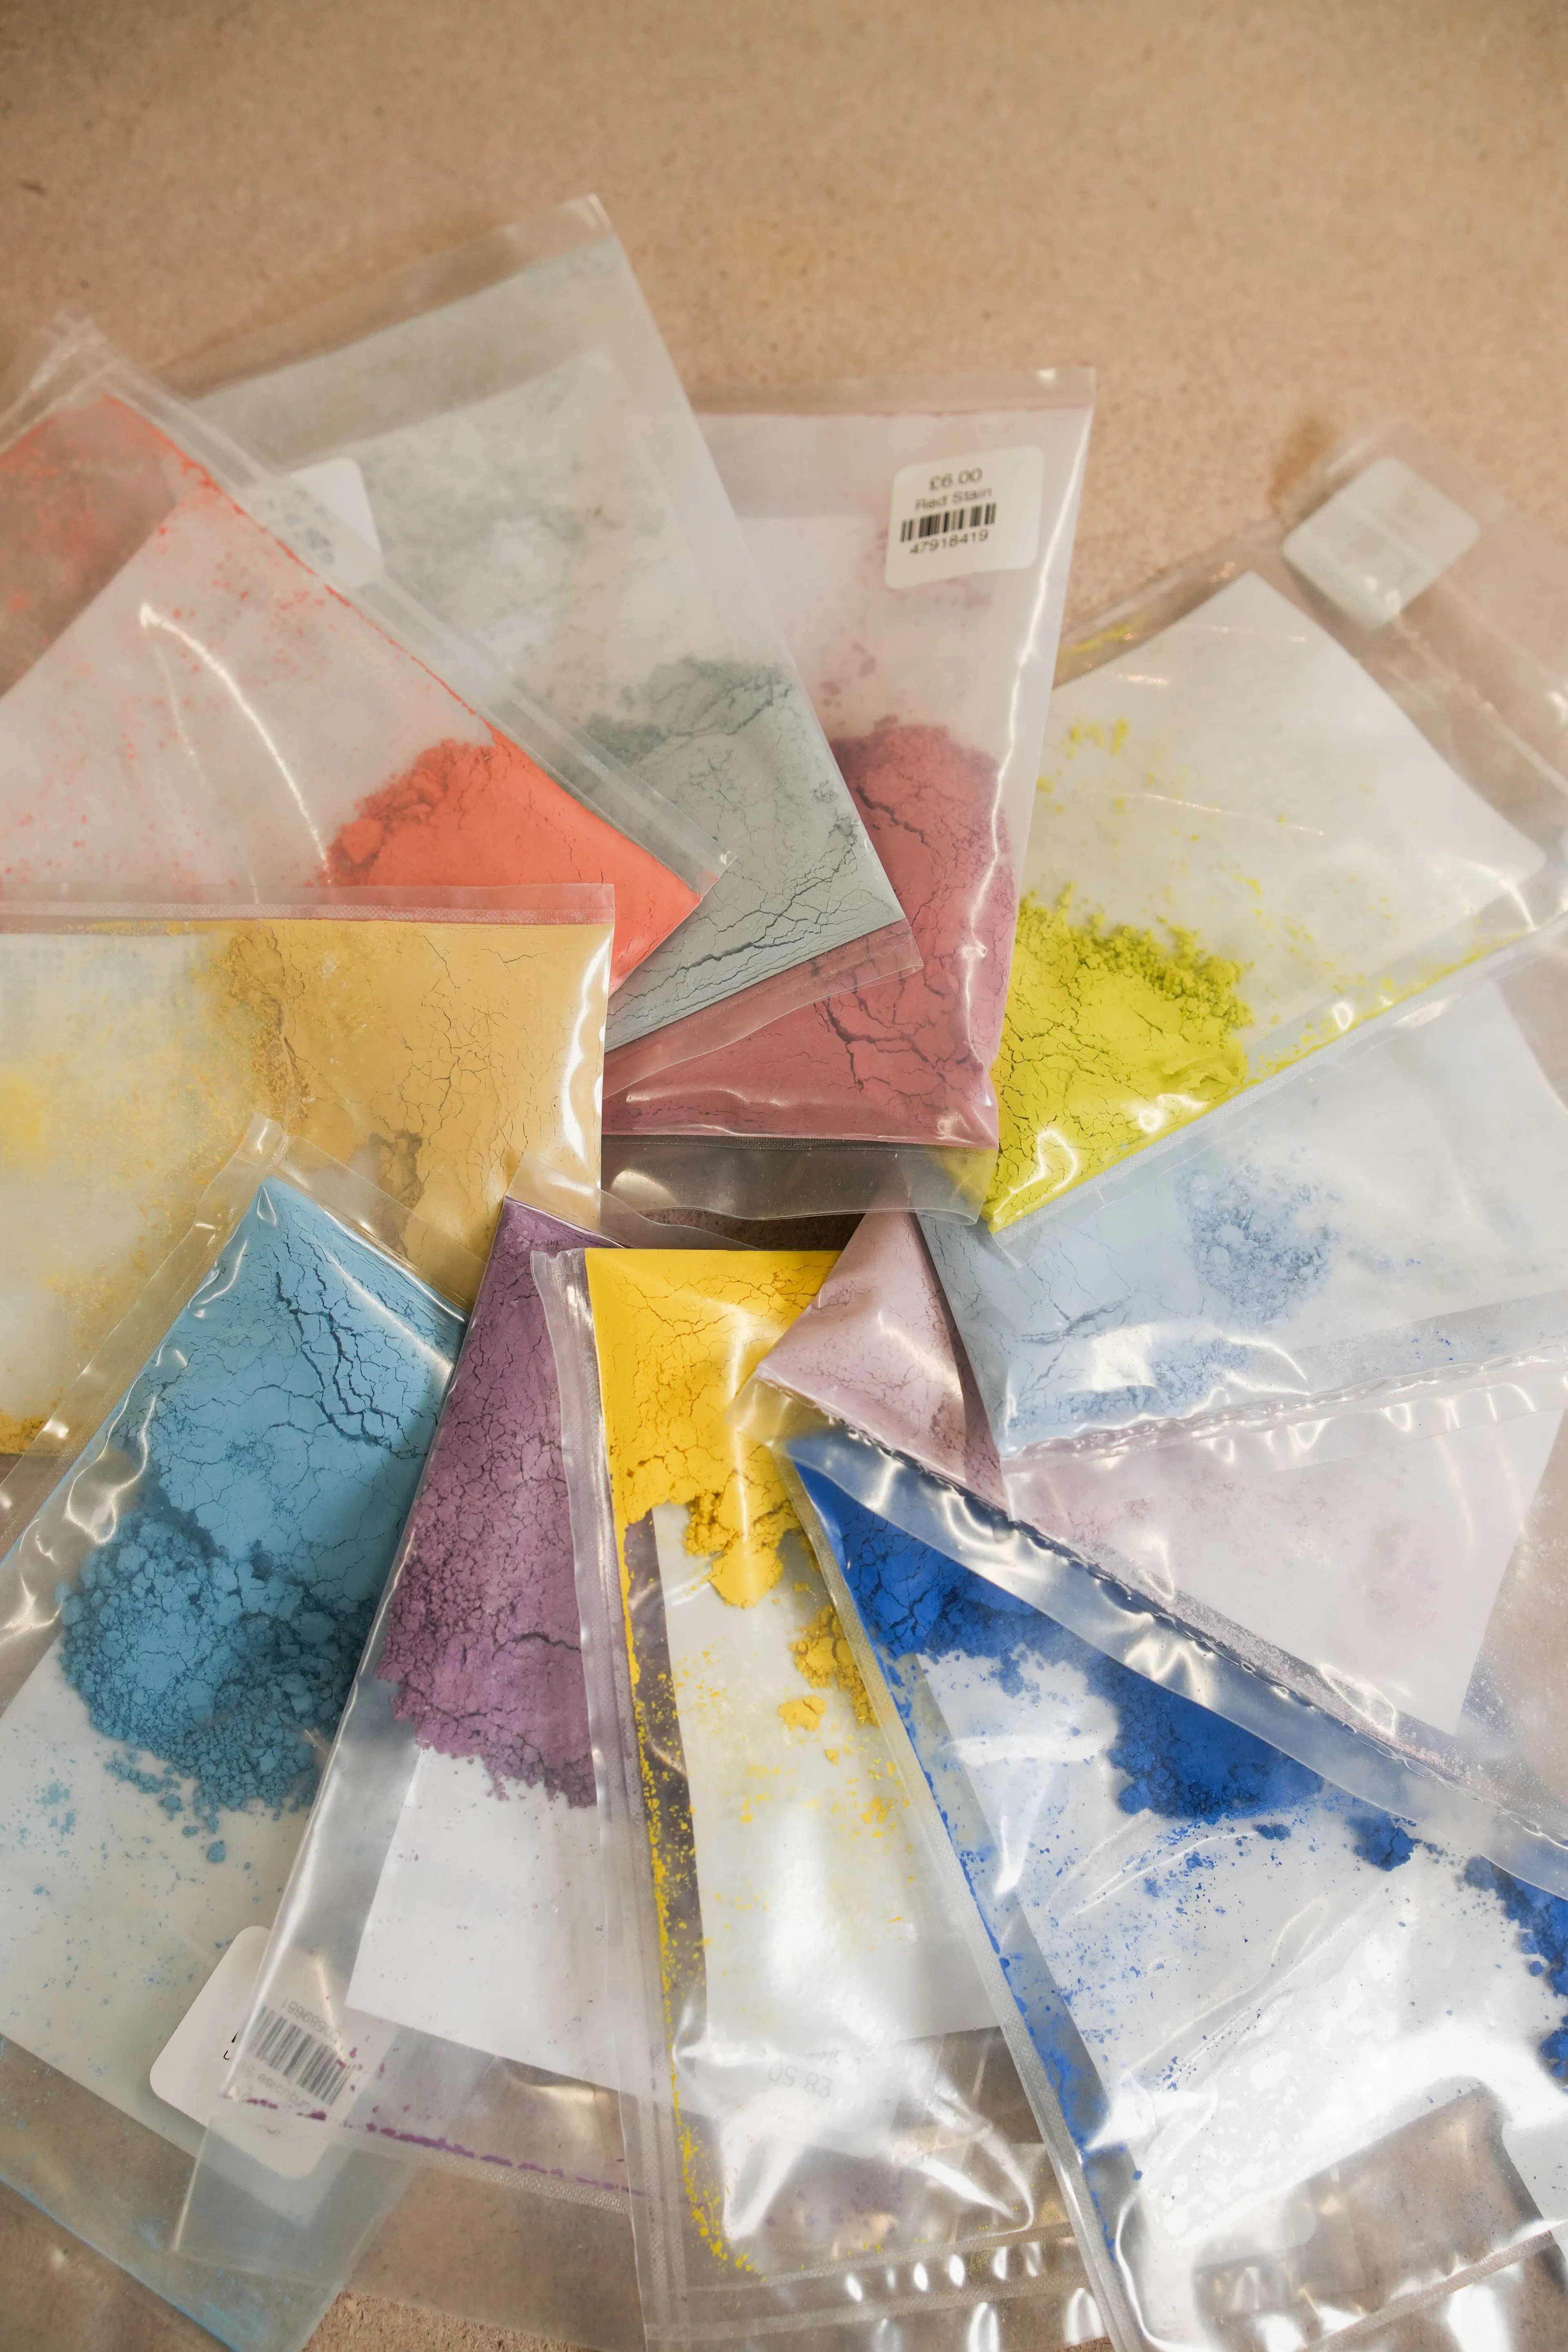
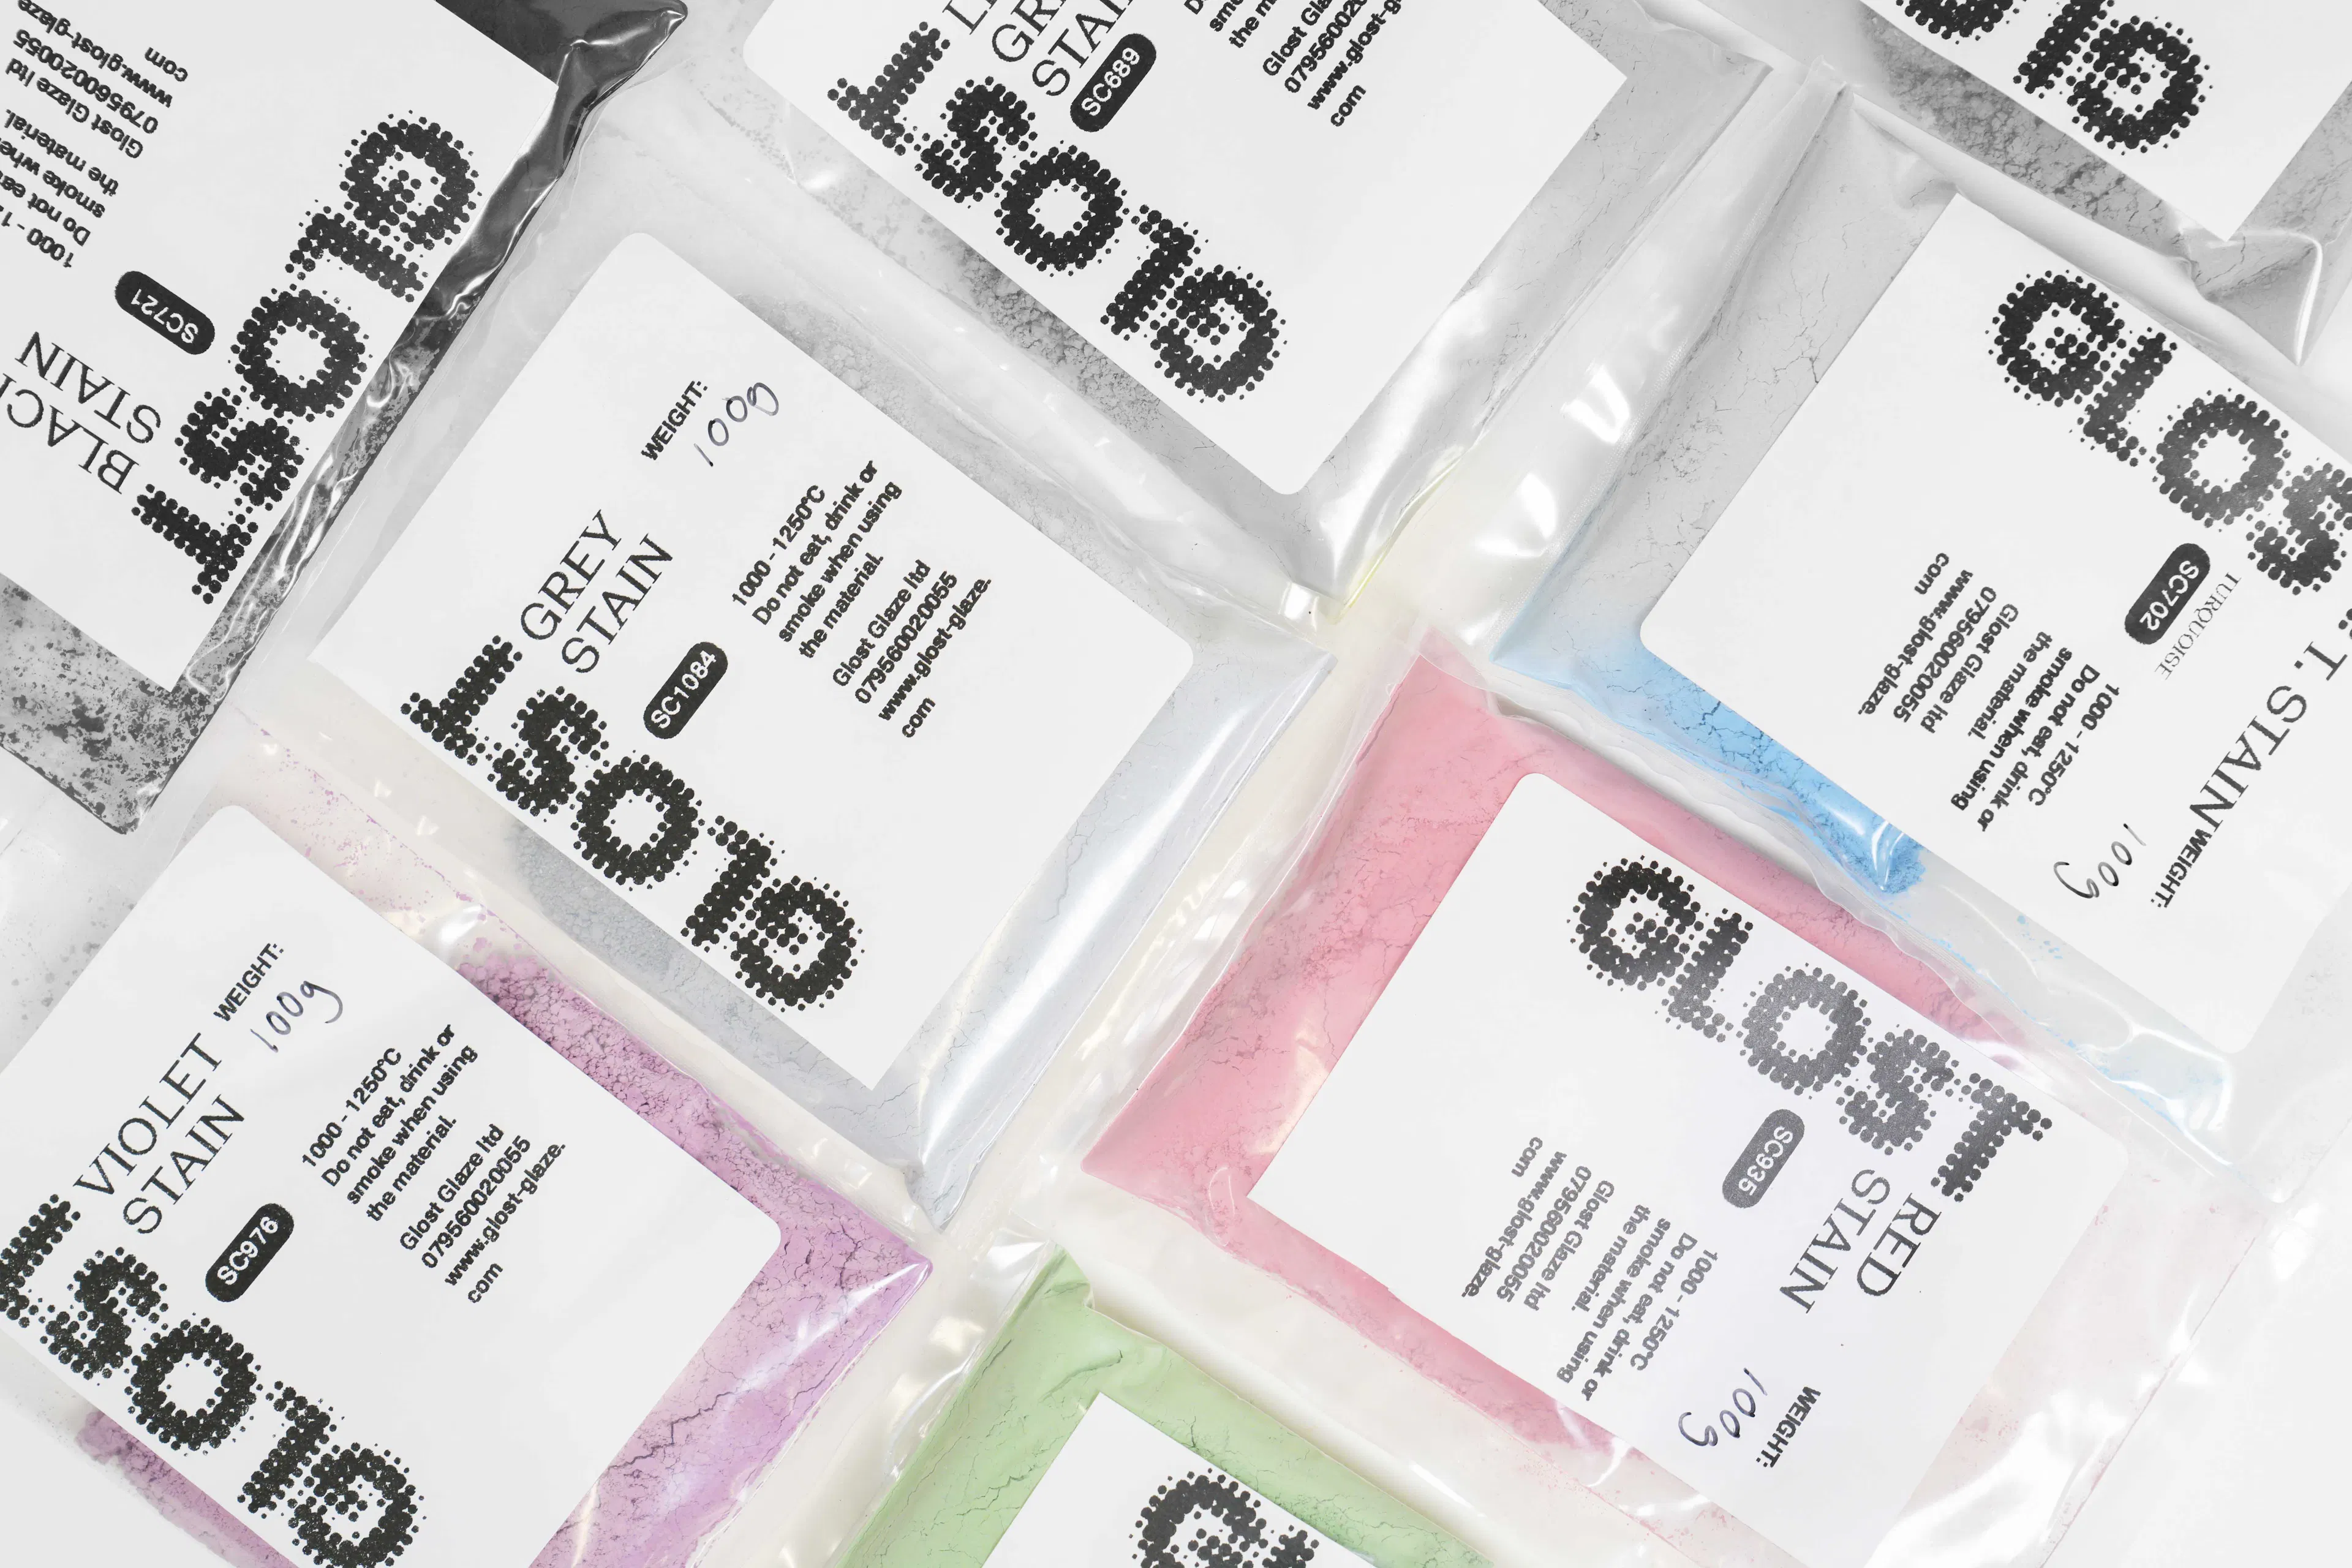
We stock fourteen stains, repacked by hand in the Peckham studio, in 25g, 50g, and 100g sachets.
Quick reference: how much stain to add
UseStarting range (% of dry weight)For a strong colourKey cautionGlaze (transparent base)1 to 12%4 to 8%The base does the work. Clear and glossy gives the truest colour.Slip or engobe5 to 15%8 to 12%Needs more than a glaze; clay is opaque. Test bare and glazed.Clay body5 to 20%10 to 15%Start from the whitest body. Expensive, so mix small first.
These are starting points for your own testing, not promises. The base, the body, the application thickness, and the firing all move the result. Test in your conditions before you scale.
By Elena Gileva, founder of GLOST. Nearly two decades practising and teaching glaze chemistry. Last reviewed June 2026.
What is a ceramic stain?
A ceramic stain is a colouring oxide that has been combined with other materials, fired to a high temperature, and ground to a fine powder, so the colour is locked into a stable crystal structure that survives a second firing.
Most colour in ceramics comes from a handful of metal oxides: cobalt, copper, iron, chrome, manganese. Used raw, these are blunt instruments. A small change in cobalt swings a glaze from pale blue to near-black. Copper can go green, turquoise, or an ugly metallic grey in the wrong company. A stain takes those same oxides and does the difficult chemistry in advance, so the colour comes back roughly as it went in. That predictability is the whole point of a stain, and it is why a stain, not a raw oxide, is the sensible place to start when you want a particular colour rather than a particular surprise.
How is a stain different from a raw oxide?
A stain is stable and predictable; a raw oxide is powerful and temperamental. The stain has been pre-fired into a fixed colour, so it resists shifting in the kiln. The oxide is unprocessed, far stronger gram for gram, and far more likely to do something you did not plan.
Two practical consequences follow:
Stains are weaker than oxides, gram for gram. You use more stain to reach a given intensity than you would the equivalent oxide. That is the trade you make for control.
Stains have firing limits. Because the colour lives in a fired crystal structure, pushing past the temperature that structure survives will dull, shift, or burn out the colour. GLOST stains are formulated for roughly 1000 to 1250°C, covering most earthenware and mid-range stoneware.
If you want this judgement in full, when to reach for a stain and when a raw oxide is the better tool, that is the subject of a companion article.
How do I add stain to a glaze?
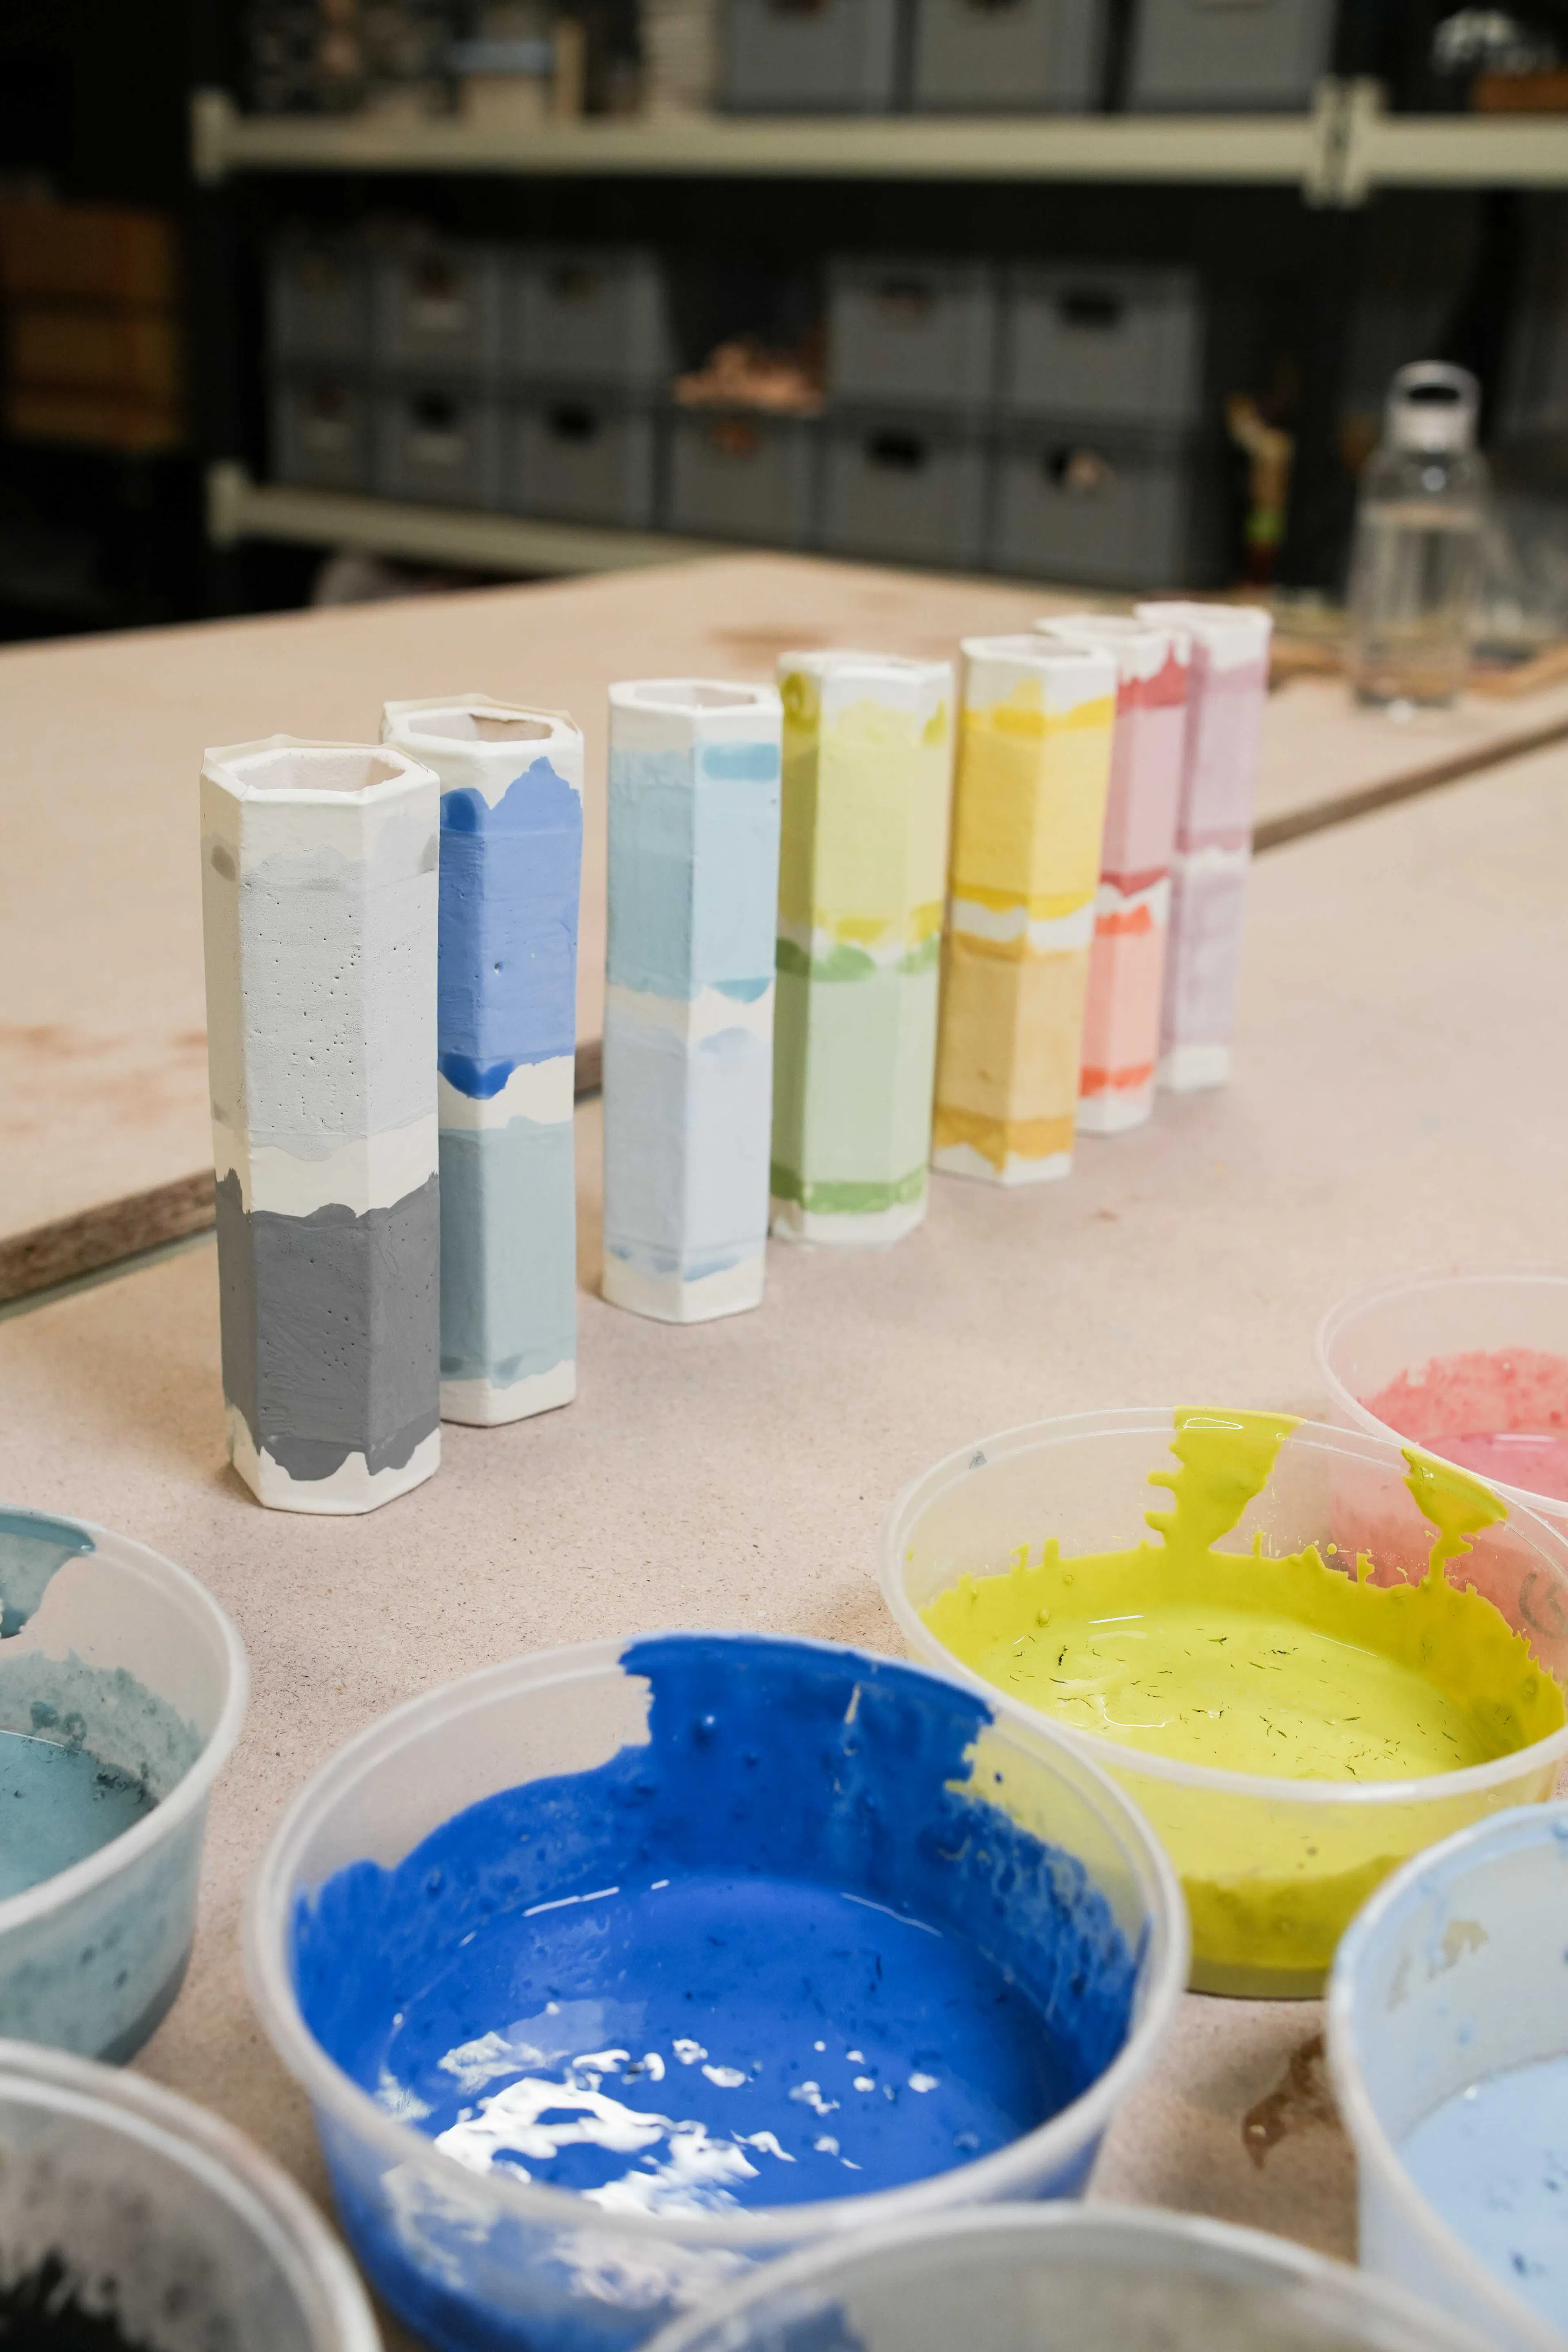
Add the stain to a base glaze you already trust, calculated as a percentage of the dry batch weight, and choose your base deliberately, because the base decides how true the colour reads.
A transparent, glossy base is the truest carrier of a stain's colour. With nothing competing for attention, a violet stain in a clear glossy base gives you violet. The same stain in a white opaque base gives a softer, chalkier pastel, because the opacifier lightens and muddies everything. In a satin or matt base it reads quieter still. None of these is wrong; they are tools. For the cleanest colour, start with a transparent glossy base and adjust from there.
Starting amounts, on the dry weight of the glaze:
1 to 4% for a soft, translucent tint. Good for a wash of colour in a transparent.
4 to 8% for a solid, confident colour. Where most people end up.
8 to 12% for a deep, saturated colour. Past about 10% you get diminishing returns and risk the surface going dry as the stain starts behaving like a filler.
Two things that ruin a batch if you do not know them:
Some bases fight some stains. Zinc can weaken or kill certain colours, especially chrome-based greens and some pinks. If a colour comes out wrong, suspect the base before the stain. [Confirm: note any of the fourteen GLOST stains with a known base sensitivity, e.g. a chrome-tin pink that needs calcium and hates zinc.]
The body shows through. A stain in a glaze over a white body looks different over buff or red. Test on the body you actually use.
Choosing the right base is a decision in itself.
Can I use stain in a slip or engobe?
Yes. A slip is liquid clay and an engobe is a slip engineered to fit a particular body and firing. Both take stain readily, and both need more of it than a glaze does, roughly 5 to 15% on the dry weight, because clay is more opaque and less brilliant than glass.
This is how you get coloured slip-trailing, coloured grounds under a clear glaze, and soft, matt, painterly colour. A clear glaze over the top lifts and deepens the colour considerably, so test the slip both bare and glazed before judging it. Watch the fit: a heavily stained slip shrinks slightly differently from a plain one, and a slip applied to the wrong body or at the wrong dryness will flake. Apply to damp or leather-hard work for the best grip.
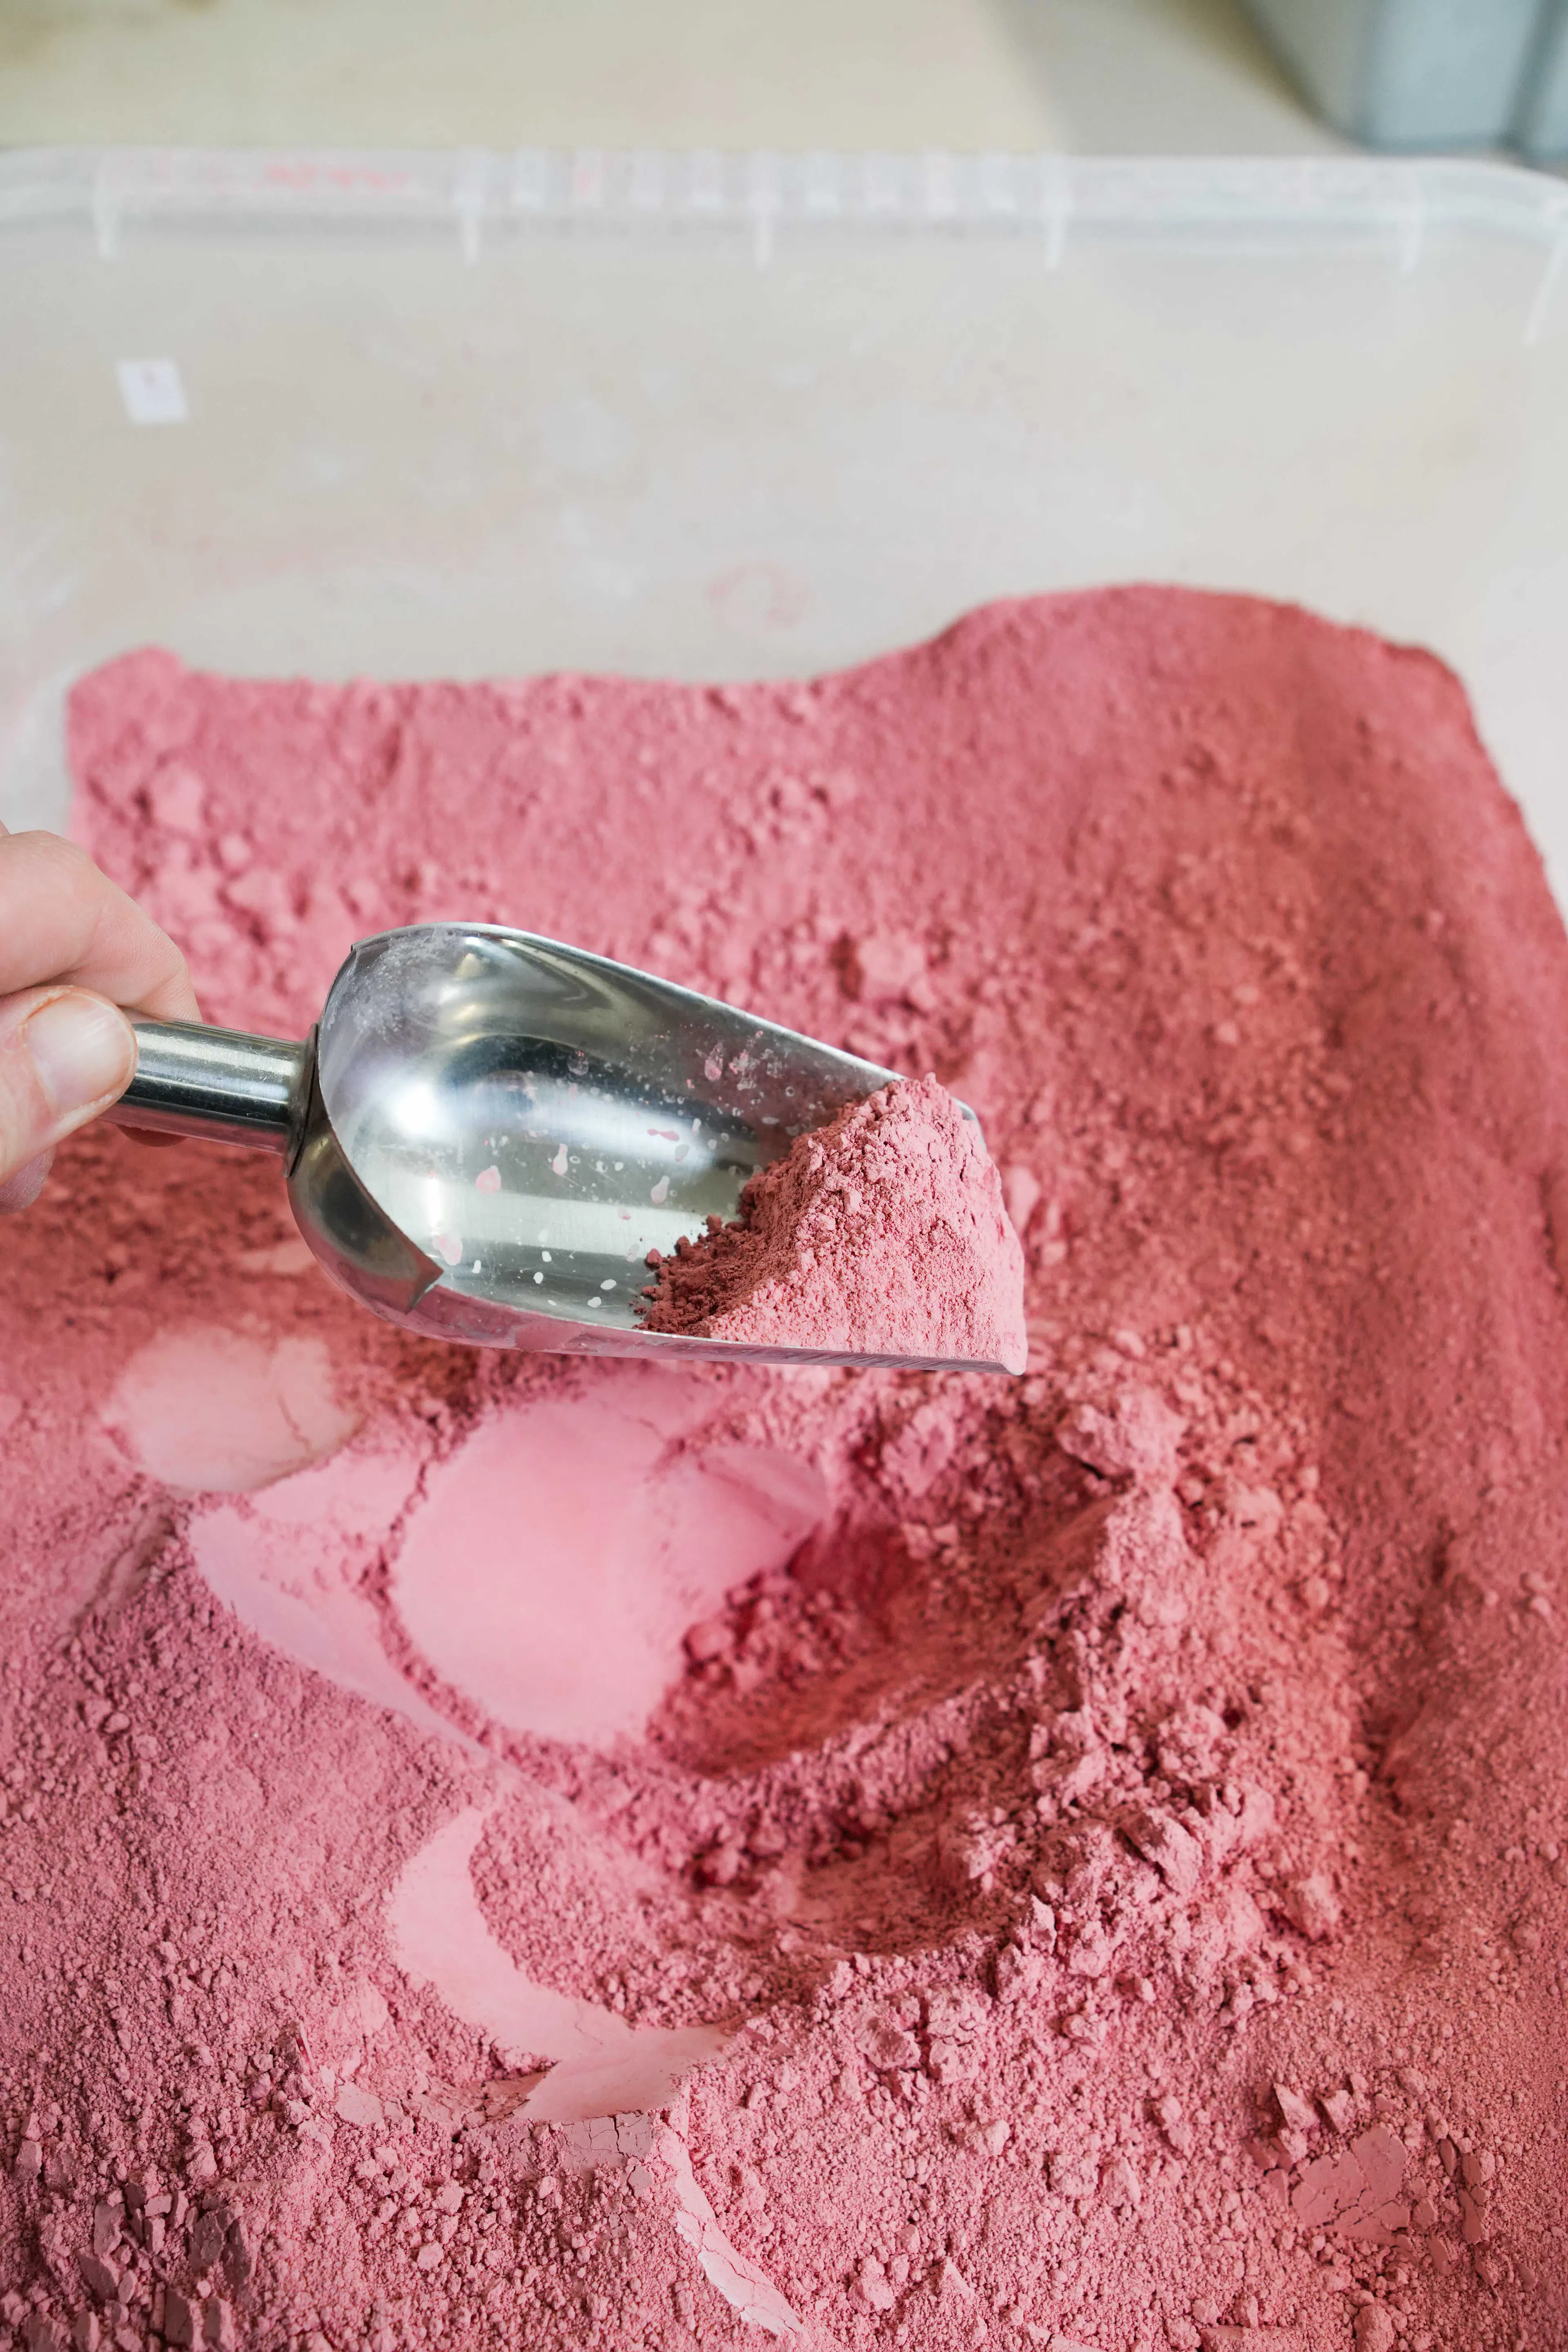
How do I colour a clay body with stain?
Wedge stain into the clay body to colour it all the way through, using roughly 5 to 20% on the dry weight, with 10 to 15% a common range for a strong colour in a white porcelain or stoneware. This is how coloured porcelain, nerikomi, and agateware are made: a cut or carve reveals colour rather than surface decoration.
It is the most stain-hungry use because the colour is diluted through the whole opaque mass. The honest warnings, because this wastes expensive stain if it goes wrong:
Start from the whitest body you can. White porcelain or white stoneware gives the truest result. A buff or grey body always reads muddier.
Mix thoroughly. Stain has to be wedged through evenly or you get streaks. Many people mix into a slip first, then dry it back to a workable consistency, rather than wedging dry powder into plastic clay.
Match the firing range. A stain that cannot take the body's vitrification temperature fires dull. Match the stain to the clay, not the other way round.
Mix small, then scale. At 10 to 15% of the body weight, stain is the expensive part of coloured clay.
Colouring bodies is a craft of its own.
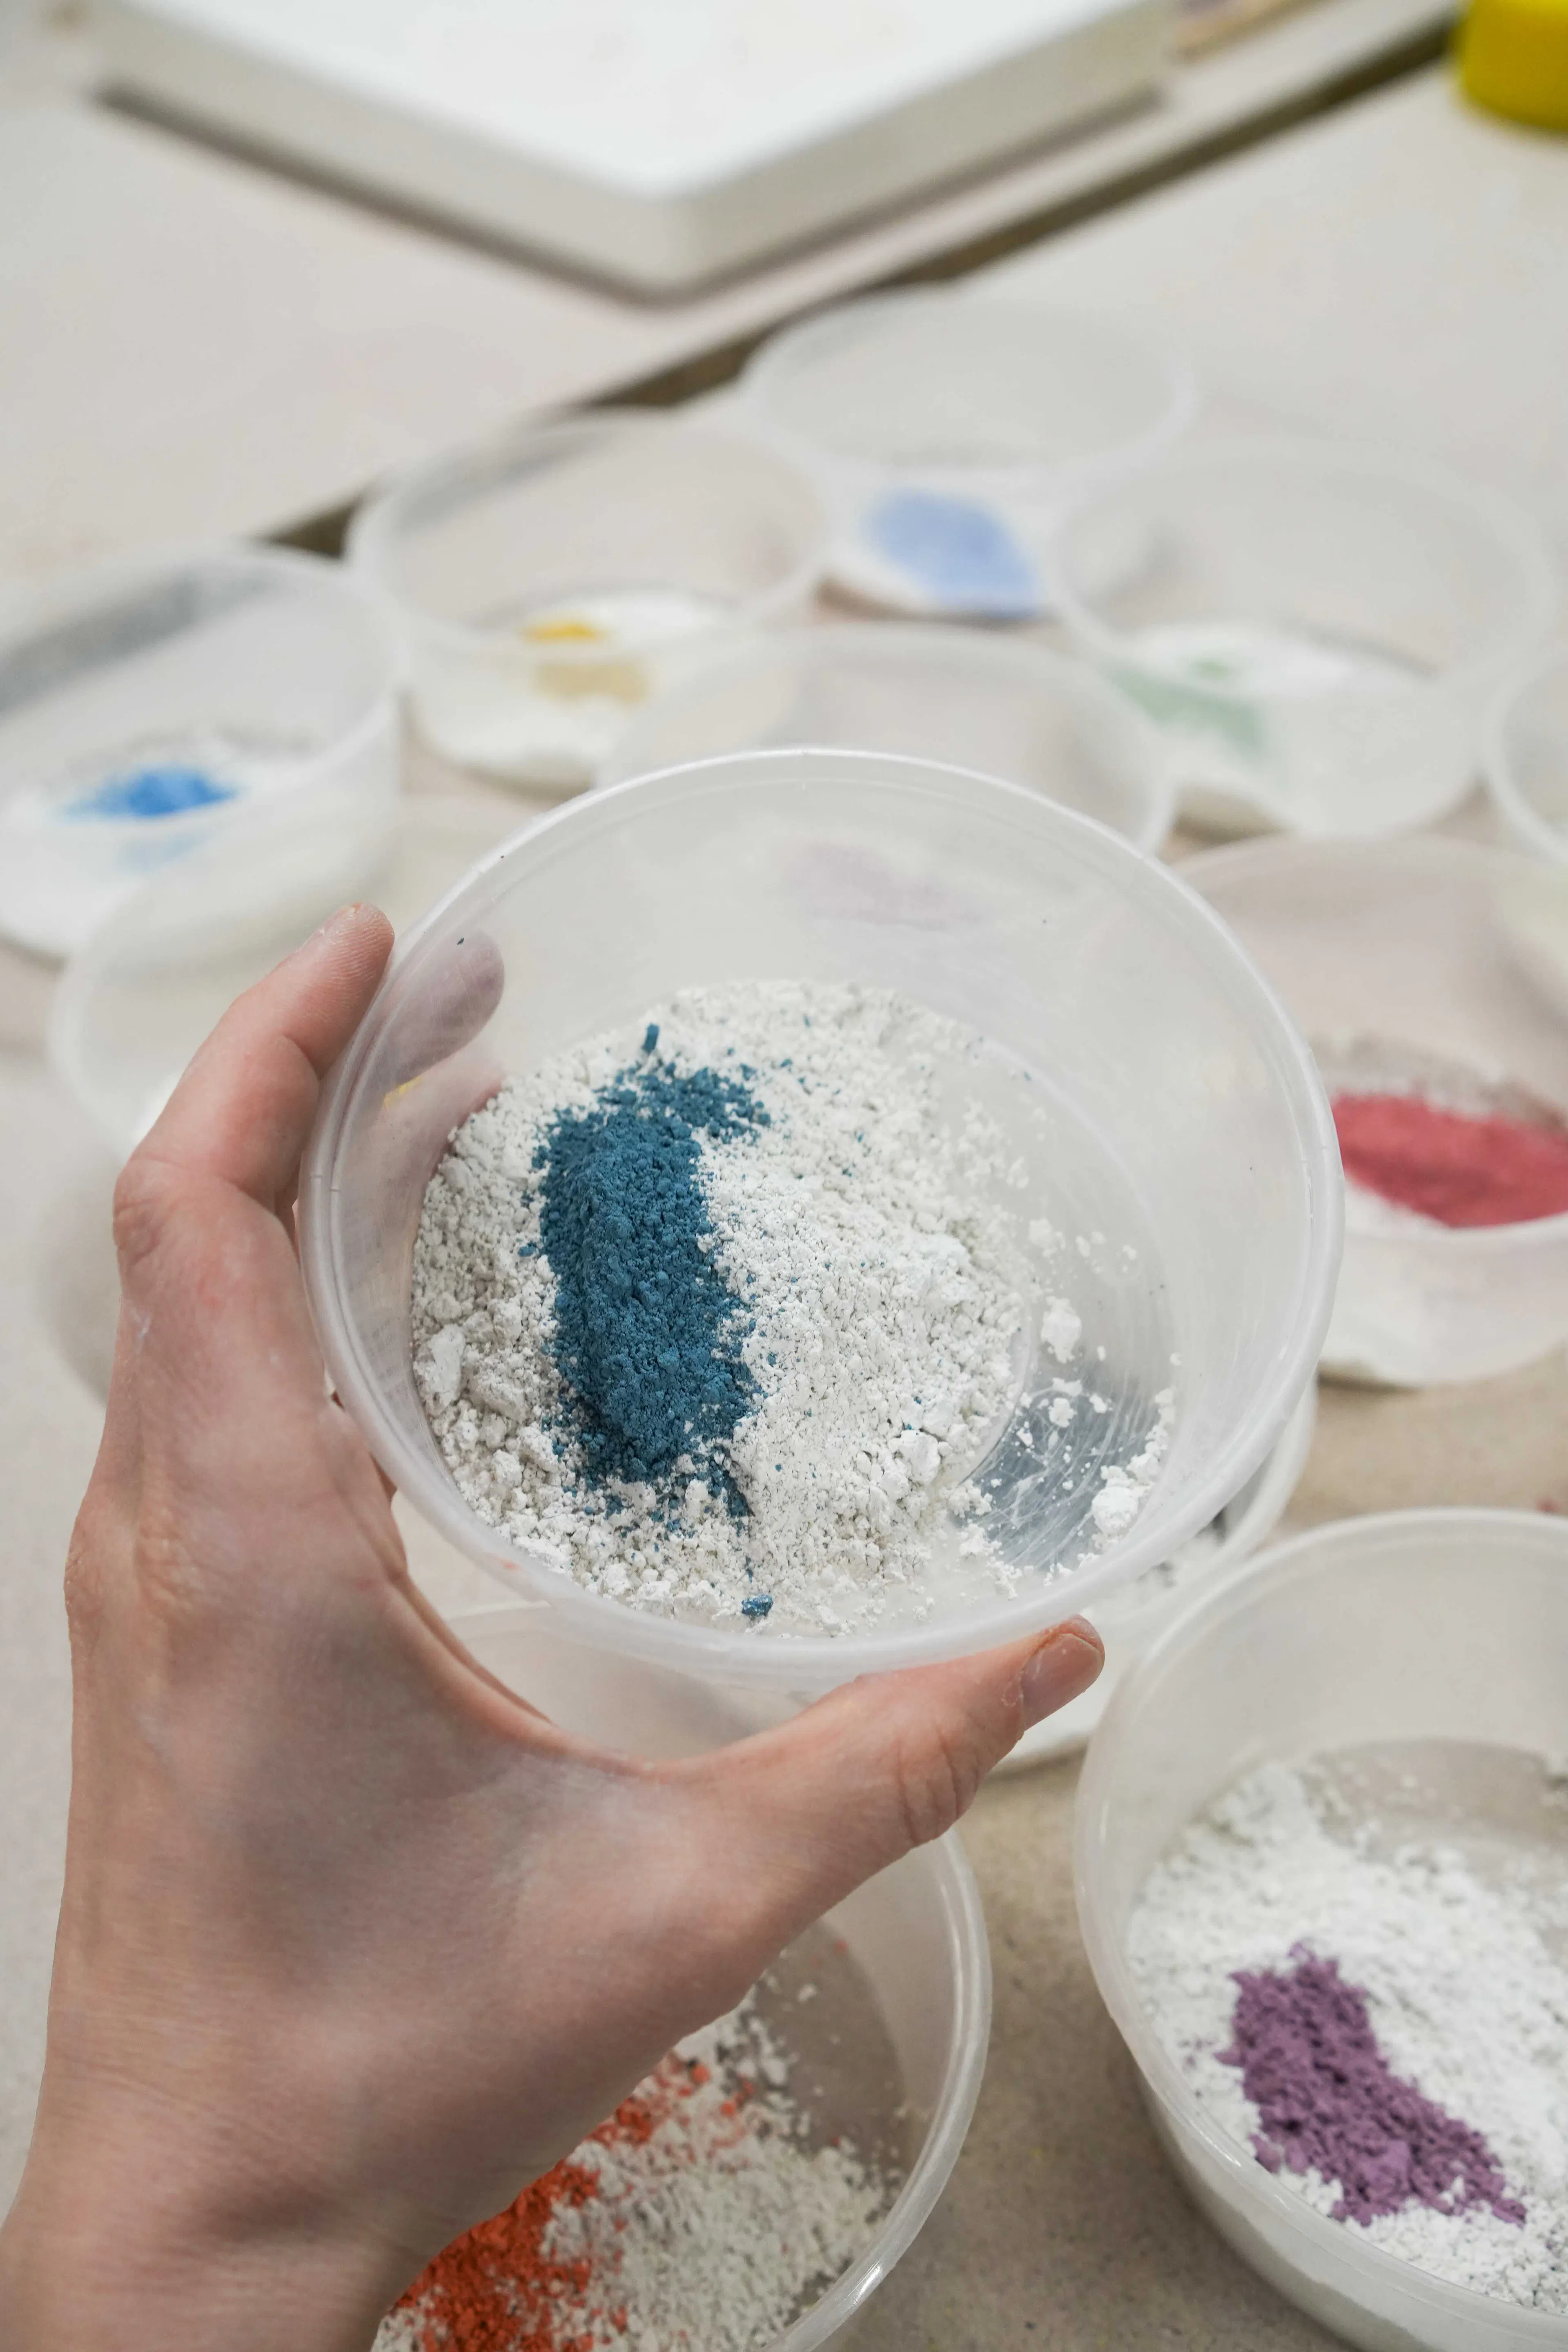
Can I mix stains to make my own colours?
Yes, the stains intermix freely, so the fourteen colours are a starting palette for a far larger one. Mixing two stains gives you the colour between them. A little black gives any colour a darker shade. Diluting with more clear base gives you tints.
The reliable way to find your own colours is a line blend. Mix two stains in fixed steps (100% A, 80/20, 60/40, 50/50, 40/60, 20/80, 100% B), add each blend to the same base at the same percentage, and fire them together on test tiles. You get a documented range of every colour between your two starting points, with recipes you can repeat. Label the tiles and keep them: you are building your own reference library.
The 25g sachet exists for exactly this. It is enough to test a colour across a couple of bases without committing to a bag you turn out not to like. Find the colour at 25g, then buy the larger size once you are sure.
shop the stains in 25g, 50g, and 100g →
There is a method to testing colour systematically.
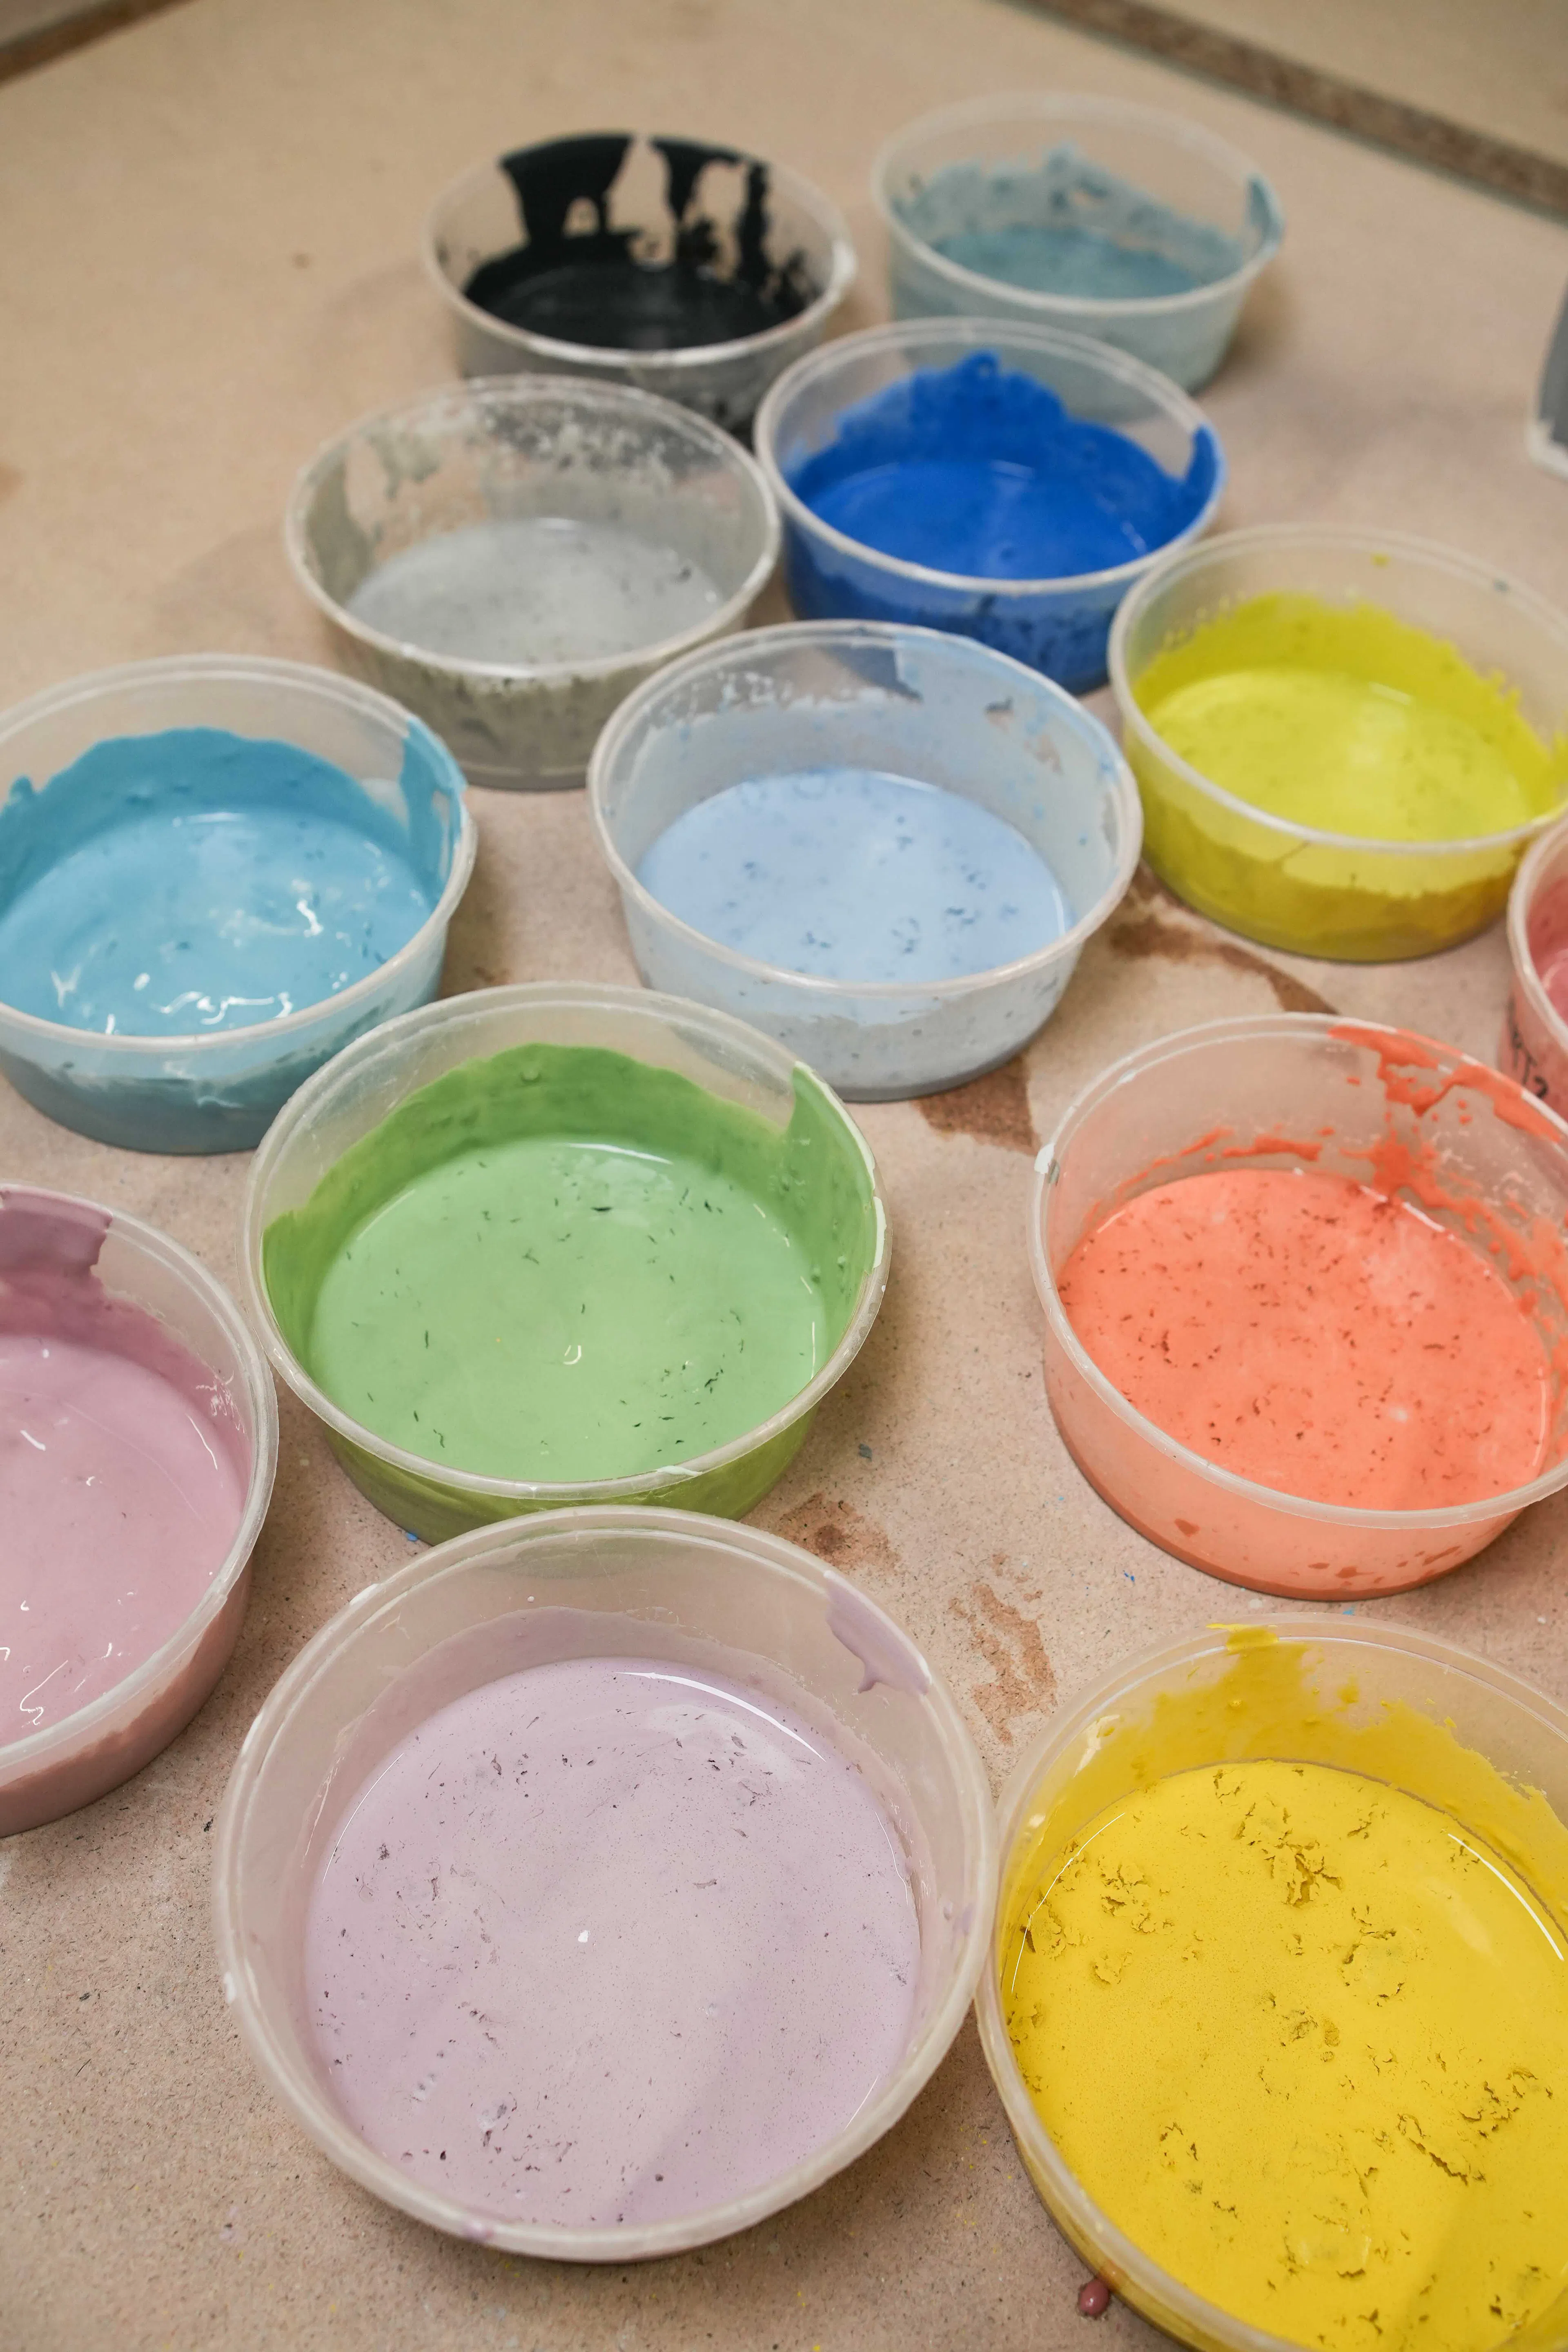
Why does my stain look different in two glazes?
The base is doing the work, not the stain. A transparent glossy base gives the truest, most saturated colour. A white or opaque base mutes and softens it into a pastel. A matt base quietens it further. The stain is identical; the carrier is different. The body underneath also shows through anything but the most opaque glaze, so the same glaze over a white body and a buff body will not match.
A note on testing, because it is the whole game
Everything above is a starting point, and I want to be plain about that. A percentage that gives a perfect violet in my clear base, over my body, in my kiln, programmed my way, is not a promise about your studio. The base recipe, the opacity, the body, the application thickness, the peak temperature, the ramp and soak, the evenness of the kiln: change any one and the colour can shift.
This is not discouraging. It is the reason testing matters, and it is one of the most satisfying parts of the practice. Mix small, fire test tiles, write down what you did, read the results honestly. A documented set of tests is worth more than any recipe handed to you, because it is true for your conditions. Each tile is its own small investigation.
To learn this properly: the Foundations of Glaze Making three-day workshop covers stains, bases, line blends, and test tile methodology in depth, and the Mastering Ceramic Glazes online course covers the same ground at your own pace.
Frequently asked questions
What is the difference between a stain and an oxide? An oxide is a raw colouring material, powerful and unpredictable. A stain is a colour that has already been fired and milled into a stable form, so it behaves predictably and survives a second firing. Stains are weaker gram for gram but far more controllable. For a specific colour, a stain is the right tool.
How much stain do I add to a glaze? As a starting point, 1 to 4% for a soft tint, 4 to 8% for a solid colour, 8 to 12% for a deep saturated colour, on the dry weight of the glaze. Always test, because the base and firing change the result.
Why does my stain look different in two different glazes? The base. A transparent glossy base gives the truest, most saturated colour; an opaque or white base mutes it; a matt base quietens it further. The stain is the same, the carrier is different.
Can I use stains to colour clay? Yes. Wedge stain into a clay body to colour it through, for nerikomi, agateware, and coloured porcelain. It takes 5 to 20% on the dry weight, with 10 to 15% common for a strong colour. Start from the whitest body you can and mix thoroughly.
Can I mix the stains together? Yes, freely. Mixing two gives the colour between them; black gives a darker shade. Run a line blend to document the colours between any two stains and keep the fired tiles as reference.
What firing range do GLOST stains work in? Approximately 1000 to 1250°C, covering most earthenware and mid-range stoneware. [Confirm exact figures and any per-colour limits before publishing.] The brightest colours are more sensitive to overfiring, so test at your intended temperature.
What size should I buy? Start with 25g. It is enough to test a colour across a couple of bases before committing. Move up to 50g or 100g once you know you want it at volume.
Where are GLOST stains made? Made in Britain by Sneyd Ceramics, repacked by hand in the Peckham studio. Small batches, hand-weighed, hand-labelled.
Part of the GLOST guide to colour in ceramic glazes.
GLOST is at Railway Arch 848, Brayards Road, Peckham, SE15 2AG. We make small-batch ceramic glazes, stock raw materials, stains, tools, and clay, and teach glaze chemistry across a small programme of workshops year-round. The full stain range is available online and in the shop.
Elena Gileva is the founder of GLOST and has practised and taught glaze chemistry for nearly two decades.